
Start Here
Welcome to AgentVerified CRM. Follow these steps to get set up.
- 1
Log in to your CRM
Use the login link and password from your welcome email.
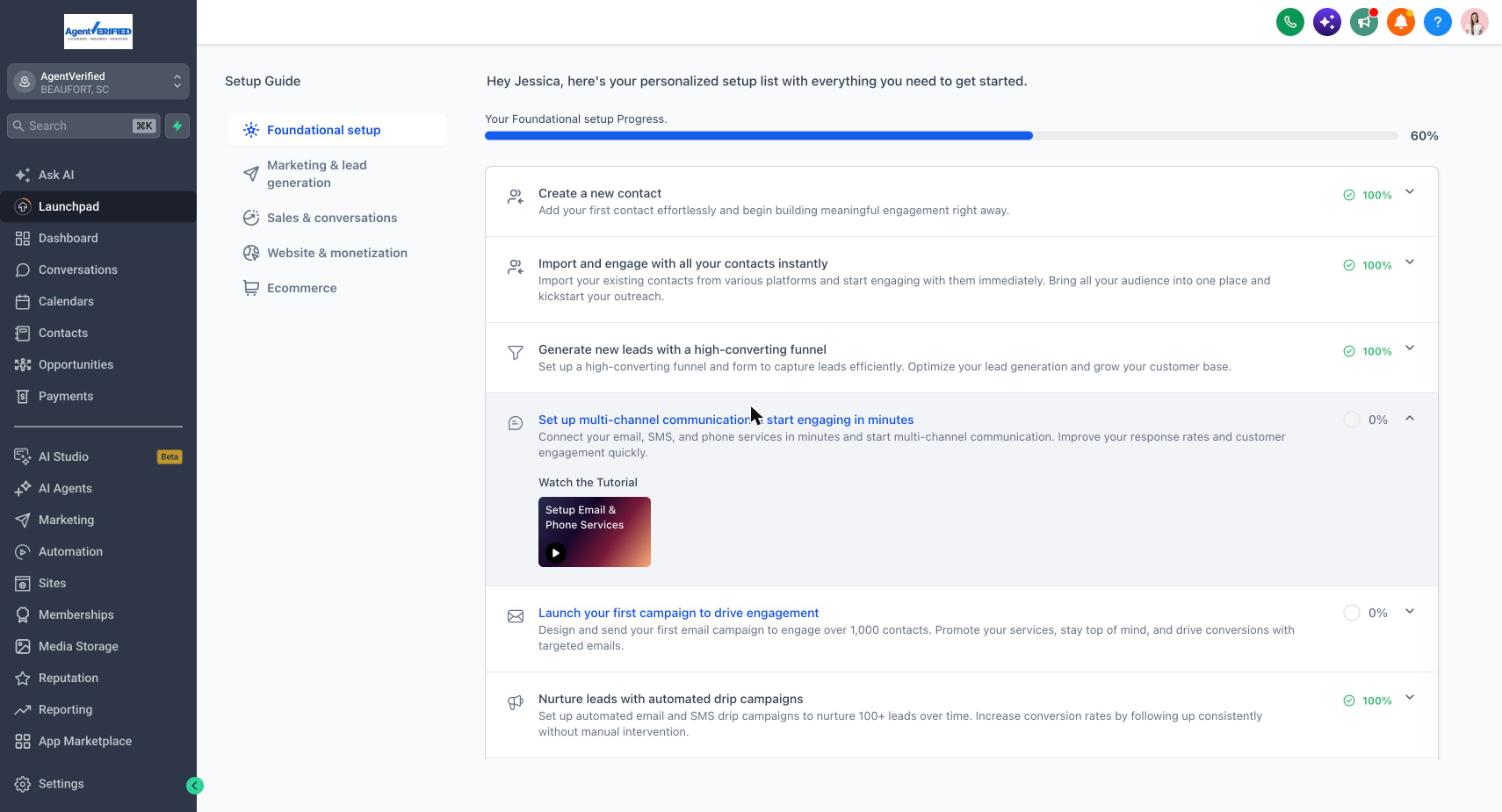
Your Launchpad setup guide after you log in - 2
Complete your profile
Add your name, photo and contact info so clients know it's you.
- 3
Set your time zone
This makes sure appointments show at the right time.
- 4
Connect your calendar
Link your Google or Outlook calendar to avoid double bookings.
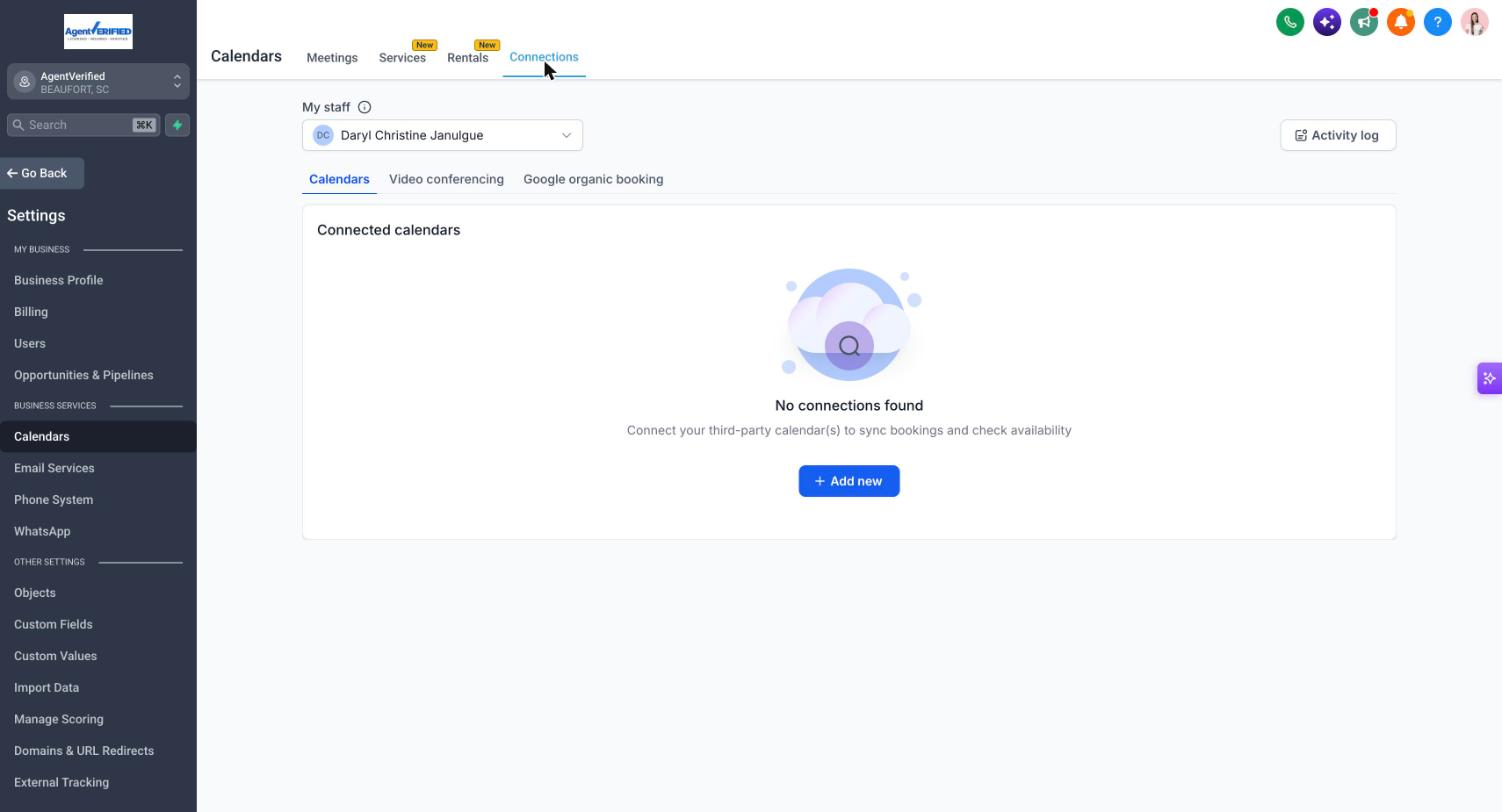
Connect your calendar from Settings → Calendars → Connections - 5
Set your availability
Choose the days and hours clients can book with you.
- 6
Connect your email
Send and receive emails right from the CRM.
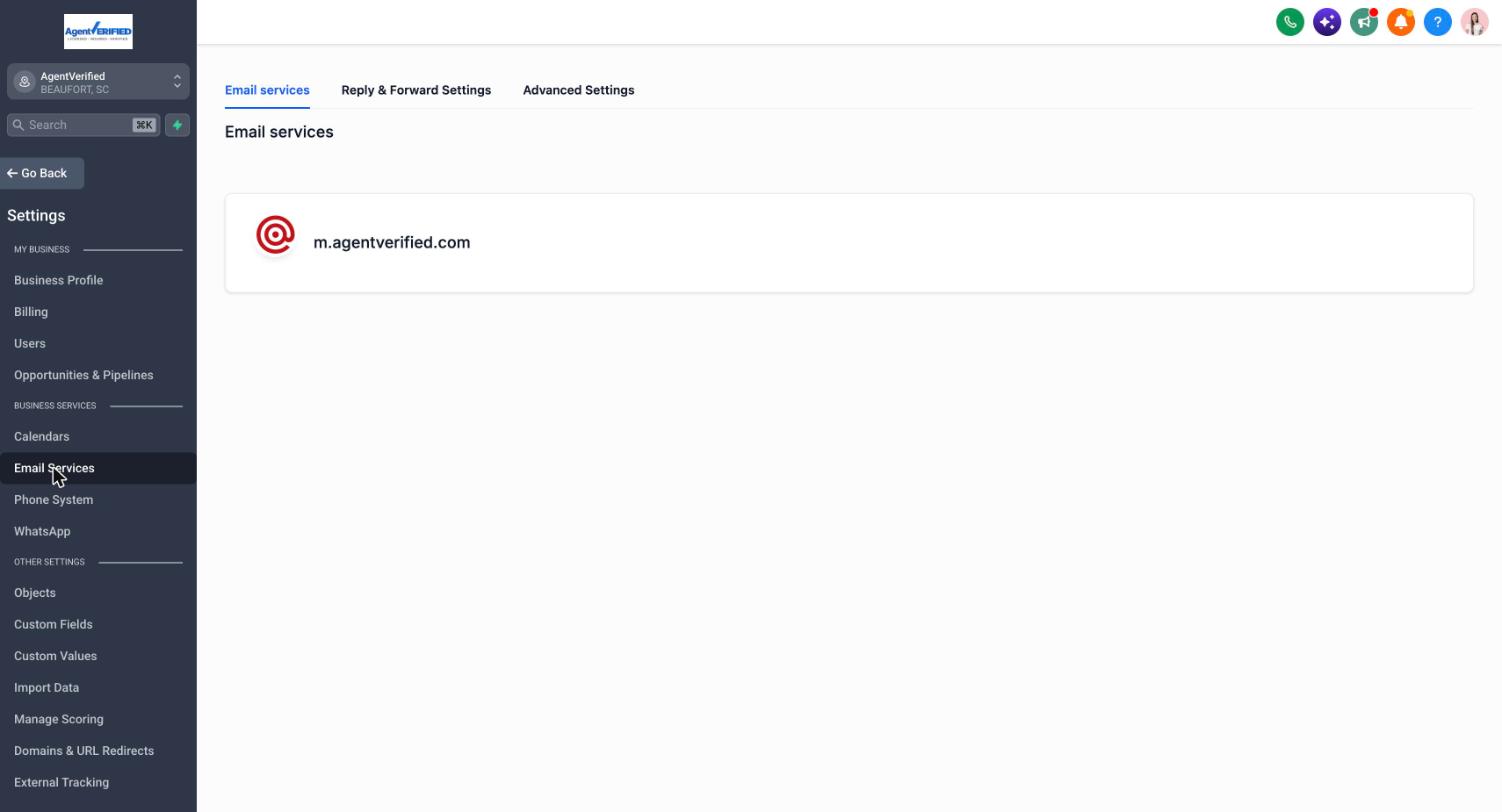
Set up your email in Settings → Email Services - 7
Texting & calling (optional)
Turn on texting and calling. Registration (A2P) may be required.
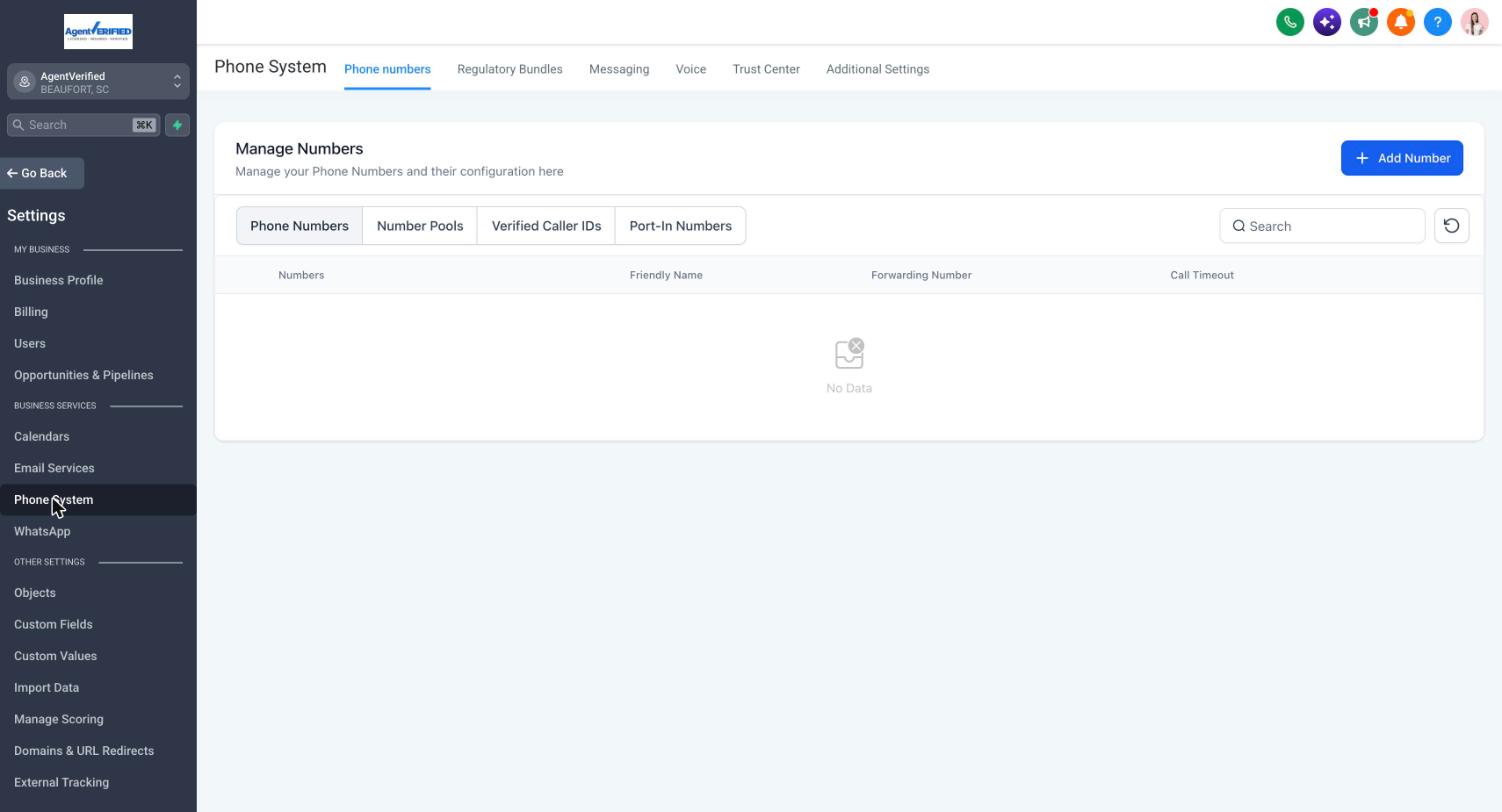
Manage your phone numbers in Settings → Phone System - 8
Import your leads
Upload a spreadsheet of your leads in a few clicks.
- 9
Get help anytime
Submit a ticket and our team will reply by email. We're here for you.